A PC that takes ninety seconds to open a web browser isn’t broken, it’s just drowning. We’ve seen this more often than usual this year, partly because Microsoft ended free Windows 10 support back on 14 October 2025, which pushed a wave of Australians onto Windows 11 hardware they’d never properly set up. Choosing to reinstall Windows cleanly is the fix most people avoid because they assume it means losing every photo, every save file and every half-finished Word document. It doesn’t, not if you do it in the right order.
Our take, and we’ll argue this one: a clean reinstall of Windows is one of the few genuinely free performance upgrades left in PC ownership, and most Australians are more scared of it than they should be. You don’t need to be an IT contractor. You need about two hours, a USB stick, and a bit of patience while things copy in the background.
Why reinstall Windows cleanly at all
Windows doesn’t get slower because it’s “old” in some mystical sense. It gets slower because years of driver updates, half-removed programmes, browser extensions nobody remembers installing and general registry clutter pile up like sediment at the bottom of a river. Resetting via Windows’ built-in “Reset this PC” option helps a bit, but it often leaves remnants behind. A proper clean install, where you wipe the drive and start from an official Microsoft image, gives you the PC at its fastest possible state, with none of the baggage it’s been carrying.
It’s also the right move if you’re buying a second-hand PC, preparing one to sell, or dealing with a machine that’s acting strangely for reasons you can’t pin down. We’d rather spend an afternoon doing a clean reinstall than three hours chasing a phantom malware infection through Task Manager, trying to work out which process is the culprit.
The mildly unpopular opinion here: we reckon most people reach for a brand-new laptop far too early when a free clean reinstall would have fixed most of what was actually annoying them. If your machine still passes the checks in our Windows 11 compatibility guide, a reinstall is almost always worth trying before you spend a cent on new hardware.
Back up everything before you touch a thing
This is the step people skip, and it’s the only one that genuinely matters for not losing files. Don’t trust your memory of “I think everything important is in Documents.” It never is, not entirely.
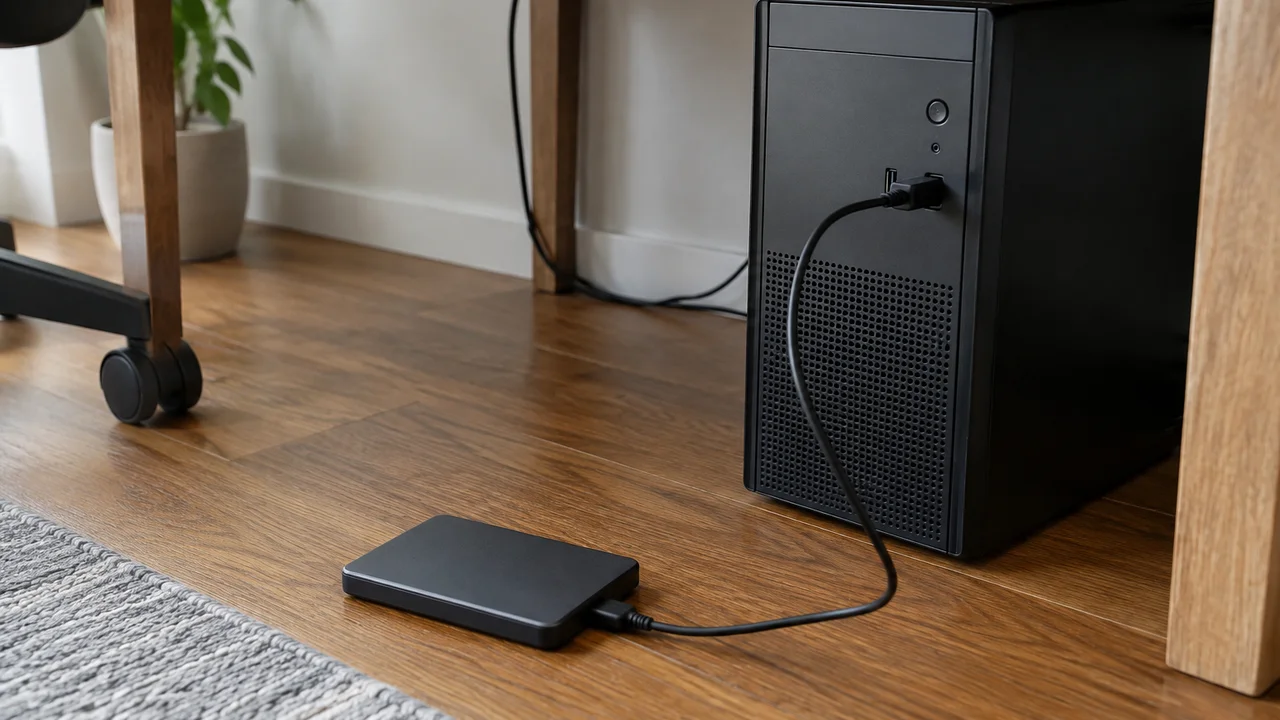
- Copy your Documents, Desktop, Pictures and Downloads folders to an external USB drive or portable SSD, not just a cloud folder you’re hoping synced properly weeks ago.
- Check browser bookmarks are signed into your Google or Microsoft account so they restore automatically, and write down licence keys for older software that isn’t tied to an account.
- Export game saves manually for anything that doesn’t use cloud saves. Steam handles most modern titles automatically, but older or sideloaded games often store saves in AppData folders that get wiped in a clean install without warning.
If you game on the side, treat this like checking your loadout before a raid: skip it and you’re the one respawning with nothing while everyone else kept their gear. It’s the one moment in this whole process where five careless minutes costs you something you can’t get back.
Get the right installation media
Head to Microsoft’s own Windows 11 download page and use the Media Creation Tool to build a bootable USB drive, ideally 16GB or larger. Avoid third-party “Windows ISO” sites entirely, even the ones that look legitimate. Beyond the obvious security risk, modified images sometimes bundle junk software or outdated drivers that defeat the entire purpose of a clean start. The Australian Cyber Security Centre has flagged pirated or unofficial software images as a recurring vector for malware for years, and a Windows installer is about as privileged a piece of software as exists on your machine, so this isn’t the place to cut corners.
Before you start the actual install, run the PC Health Check tool from Microsoft to confirm your hardware meets Windows 11’s requirements, particularly TPM 2.0 and Secure Boot. Most machines sold in Australia since roughly 2019 clear this bar without issue, but older desktops built from spare parts sometimes don’t, and it’s worth knowing before you’re halfway through a reinstall with no way back to where you started.
Doing the install without wiping your files
Here’s the bit that surprises people: you can run the Windows installer from inside your current, working Windows session and choose to keep personal files, without ever touching a USB drive, provided your current install is healthy enough to boot normally. Run the Media Creation Tool, choose “Upgrade this PC now,” and when prompted, select “Keep personal files only” rather than “Keep nothing.” This removes programmes and settings but leaves your files in place under a folder called Windows.old for a short grace period, and performs most of the cleanup a full wipe would achieve anyway.
For a genuinely clean install, the kind we’d argue is worth the extra effort, boot from the USB drive instead, choose Custom Install, and delete the existing Windows partition rather than reformatting the whole disk if you’ve left personal files on it as a backup. This is the point where having already copied everything to an external drive stops being optional advice and becomes the thing standing between you and a very bad afternoon.
Multiple drives make this easier
If your PC has a separate data drive from its main system drive, you’re in a much better position here. Only touch the drive Windows actually lives on. Files on a second internal drive are untouched by a clean install of the operating system, which is one of the better arguments we’ve seen for splitting storage this way when building or buying a desktop in the first place, particularly for anyone who games and hoards install files.
Getting back to normal after the reinstall
Once Windows 11 is freshly installed, resist the urge to immediately install every programme you can remember having. Start with drivers, particularly graphics drivers if you’re gaming, then Windows Update, then your most-used software, roughly in that order. This is also the ideal moment to review your home router security settings while you’re already in a clean-slate mindset, since a fresh PC connecting to a poorly configured router undoes a chunk of the benefit you just worked for.
Restore your files from the external backup once the core system feels stable rather than before, and run a scan with Windows Security before you copy anything back across, just in case something unwanted hitched a ride in the meantime.
If you game seriously, reinstalling is also a decent excuse to reassess whether your hardware is actually the bottleneck or whether it was software clutter all along. We’ve written before about which upgrades actually move the needle for PC gaming on a budget, and a surprising number of “I need a new graphics card” situations turn out to be “I needed a clean install eighteen months ago” in disguise.
Where this goes wrong for people
The single most common mistake we see isn’t technical, it’s sequencing. People start the reinstall, realise halfway through that an important file lived somewhere unexpected, like a Steam screenshot folder or an old chat app’s download cache, and by then it’s too late to grab it. Take the extra twenty minutes beforehand to search your user folder for file types you actually care about, not just the obvious ones sitting on the desktop.
The second mistake is assuming Microsoft account sync covers everything. It covers a lot: Edge favourites, OneDrive folders, some app settings. But it does not cover locally installed software licences, Steam library configurations beyond save data, or anything stored outside the folders OneDrive is actually watching. Check your OneDrive folder list before you start, not after you’ve already wiped the drive and are hoping for the best.
And the third, more Australian-specific one: don’t attempt this the night before something time-sensitive, like lodging a tax return or finishing an assignment due through a TAFE portal. Windows updates after a reinstall can take longer than expected on NBN connections with less generous upload speeds, and driver downloads for newer graphics cards can run into several gigabytes without much warning.
Is a clean Windows reinstall actually worth doing
For a PC that’s three or more years old and has never been reinstalled, yes, unambiguously. We’d put it ahead of buying more RAM for most users, and well ahead of a brand-new laptop for anyone whose current machine still has decent specs underneath the clutter. It’s free, it’s reversible if you’ve backed up properly, and the speed difference on an ageing Windows install is often more noticeable than a hardware upgrade costing several hundred dollars at retail.
Where we’d pump the brakes: if your hardware genuinely fails the Windows 11 compatibility checks, or you’re already eyeing off new hardware regardless, a reinstall is a detour rather than a destination. And if you’ve never properly backed up a file in your life, this is not the week to improvise. Get the external drive, copy things across properly, double check the folder actually has what you think it has, and treat the backup step with the seriousness it deserves. Everything after that is just waiting for a progress bar to fill, which, honestly, is the most relaxing part of the whole process.
For anyone whose PC is borderline on Windows 11 requirements and considering whether to reinstall or replace entirely, it’s also worth reading up on current options in our guide to budget laptops in Australia before committing either way, since sometimes the honest answer is that the hardware really has reached the end of its useful life, clean install or not.
— Josh Tannenbaum, Gaming Writer, Tech Geek
Featured image: AI-generated illustration.