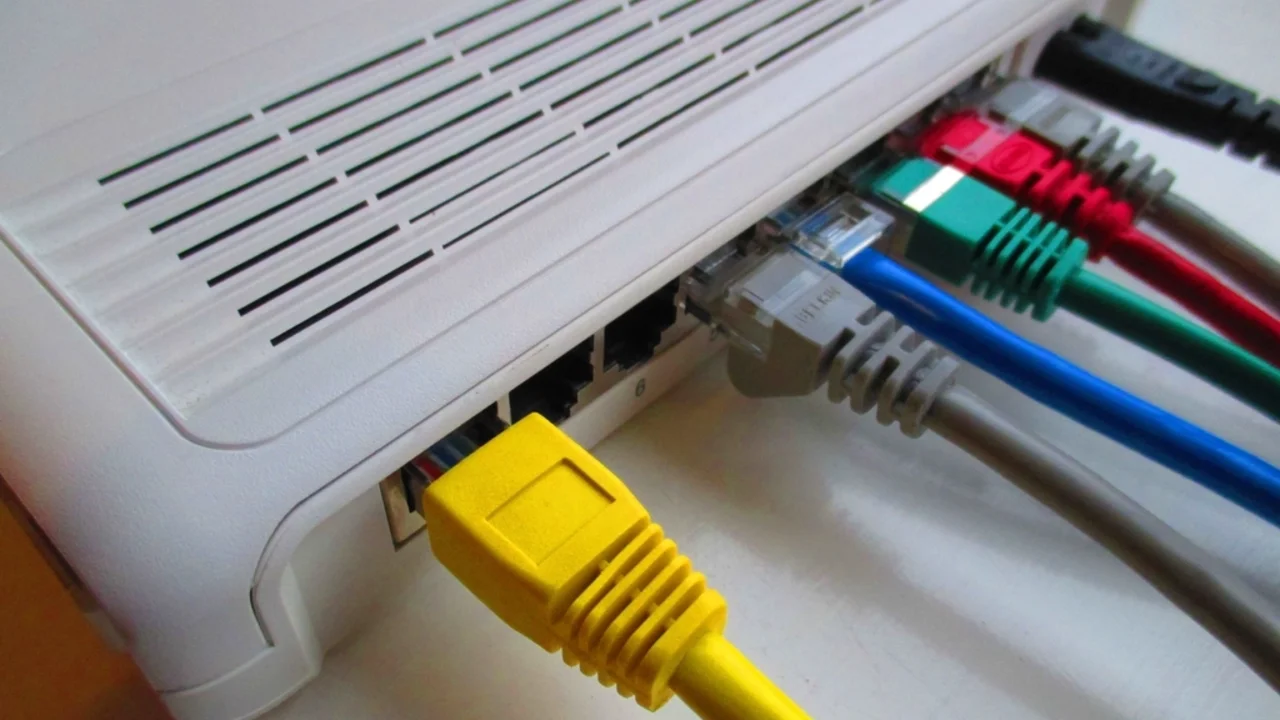
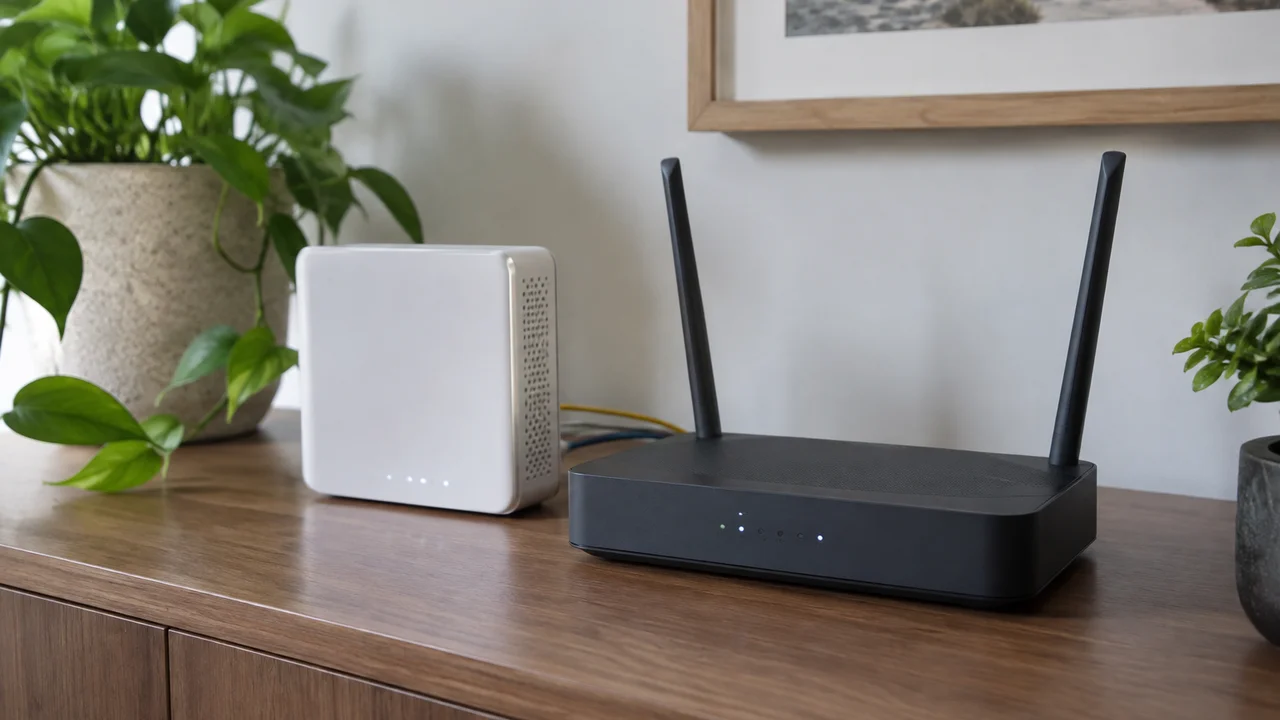
The back bedroom that won’t hold a Zoom call. The laundry where the smart plug drops out every second load. The patio where the cricket stream buffers right as someone’s about to get out. Wi-Fi dead zones are one of the most common tech complaints we hear from readers, and the advice that gets handed around most often is “just buy a mesh system”. Sometimes that’s right. Often it isn’t, and we reckon a lot of Australians are about to spend $300 to $600 on new hardware to fix a problem that’s really about where the router sits, what’s blocking the signal, or settings nobody has touched since installation day.
Our take, and this is the mildly unpopular bit: most dead zones in a typical Australian home, especially the brick-veneer three-bedroom or the older weatherboard with a tacked-on extension, can be fixed for under $50 or for nothing at all. A full mesh replacement is sometimes the lazy answer, not the correct one. Before you open a new tab to compare mesh kits, it’s worth spending twenty minutes working out what’s actually going wrong.
Why Australian houses are brutal on Wi-Fi
Wi-Fi signals hate three things: distance, walls, and metal. Australian housing stock delivers all three in ways that catch people out. Double brick and brick veneer construction, common across Melbourne, Adelaide and much of Sydney’s older suburbs, attenuates (weakens) a wireless signal far more than the plasterboard interior walls common in newer American or British housing that most router manufacturers seem to design around. Besides the bricks, foil-backed insulation batts, now standard in a lot of ceiling and wall cavities under the National Construction Code’s energy efficiency provisions, act almost like a Faraday cage in spots. We’ve also seen reflective window films, mirrored wardrobe doors and even brick feature walls cause odd dead patches that have nothing to do with distance from the router at all.
Then there’s the shape of the typical home. Router goes in the study or the hallway cupboard near the NBN connection box, because that’s where the technician left it, and the house then unfolds in an L-shape or over two storeys from that one fixed point. The router was never asked whether it could cover that layout. Nobody asked it. It just got plugged in and left.
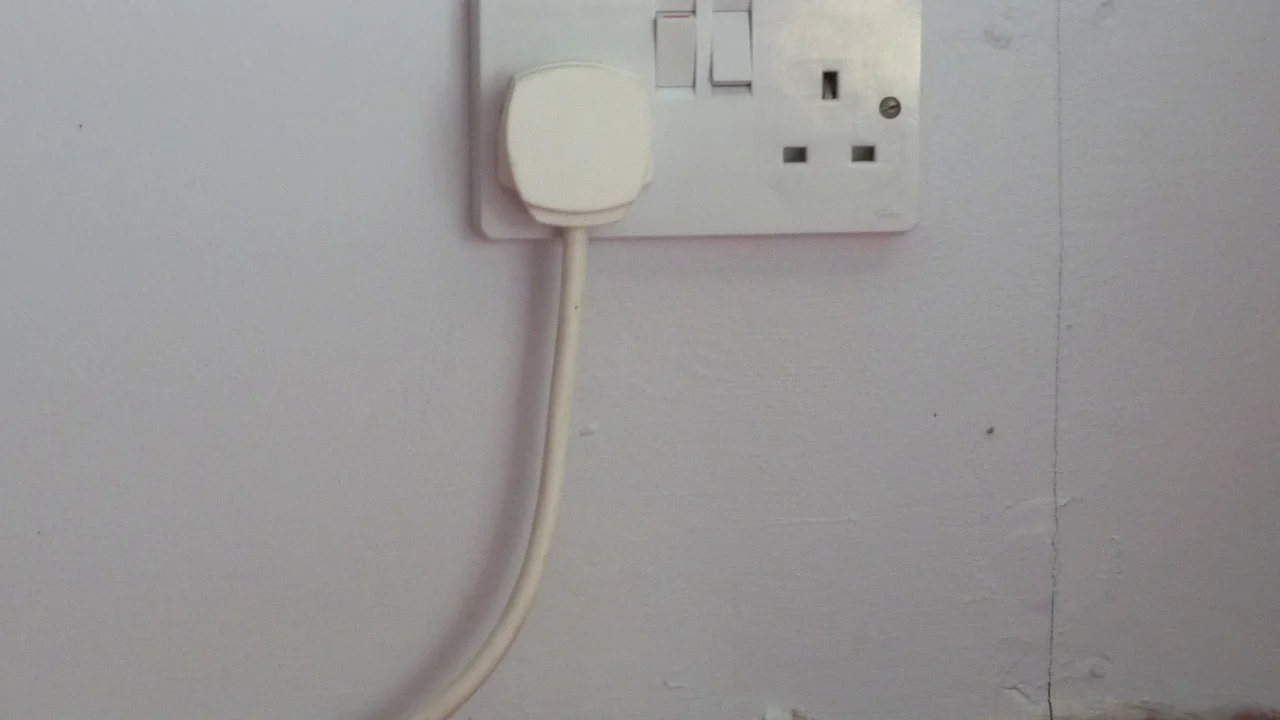
Start with where the box actually sits
This sounds almost too obvious to write down, but router placement fixes more dead zones than any other single change. A router stuffed inside a TV cabinet, behind a fish tank, low down near the floor, or in a corner of the house furthest from where you spend time, is working against itself before you’ve touched a setting.
The general rule is to get it up high, away from thick walls and large metal objects (fridges, filing cabinets, mirrors), and as close to the centre of the areas you actually use as the NBN connection point allows. If your NBN box is in a hallway cupboard right at the front of the house and your living areas are all down the back, that’s your dead zone explained in one sentence. Moving the router to open shelving in a central hallway, even a few metres, can noticeably change coverage in our experience. If the NBN connection point itself can’t move, you can run an ethernet cable from it to a router placed more centrally; it’s a bit of cabling work, maybe an afternoon with a tradie or a patient DIYer, but it solves the root problem rather than patching around it.
The cheap fixes most people skip
Before any new hardware, there are a handful of adjustments that cost nothing and take ten minutes each.
- Log into the router’s admin settings (usually via an address like 192.168.1.1, printed on the unit itself) and check whether it’s broadcasting on the 2.4GHz band, the 5GHz band, or both. 2.4GHz travels further through walls but is slower and more crowded with interference from microwaves, baby monitors and neighbours’ networks; 5GHz is faster but drops off quickly through brick. Plenty of routers let devices pick automatically, but some older setups force everything onto one band and that alone causes patchy results.
- Check the Wi-Fi channel. In apartment blocks especially, dozens of networks can be crowding the same channel, and most routers default to “auto” in a way that doesn’t always pick well. Switching to a quieter channel, something most router apps will suggest if you ask, can clear up congestion-based dropouts that look like dead zones but aren’t really about distance at all.
- Update the router’s firmware. It’s dull, we know, but manufacturers do push genuine performance and stability fixes, and a lot of routers sitting in Australian hallway cupboards haven’t been updated since the day they were installed.
When a single extender genuinely beats a mesh overhaul
A Wi-Fi extender, sometimes sold as a “range extender” or “booster”, takes the existing signal and rebroadcasts it further into the house. They’ve got a reputation for being clunky, and the cheapest ones deserve it; they create a second network name you have to manually switch to, and the rebroadcast signal is weaker than the original. But a mid-range plug-in extender, placed properly (roughly halfway between the router and the dead zone, not right at the edge of the dead zone itself), is a genuinely sensible $60 to $120 fix for a single problem room. It’s not elegant. It won’t impress anyone at a dinner party. But for someone who has one stubborn room and an otherwise fine network, buying an entire new mesh system to fix one bedroom is overkill, and we’d argue it’s often money spent on the wrong problem.
Where extenders fall down is houses with multiple dead zones, two storeys, or a lot of thick internal walls. That’s genuinely mesh territory, where several small units talk to each other and hand your device off as you walk around the house. If you’re down that path, it’s worth reading our rundown on smart home gadgets worth buying before you commit to a full hardware refresh, because the spec sheets on these boxes are full of numbers that mean very little in a real Australian house.
Powerline adapters: the unloved option that still works
Powerline adapters plug into power points and use your home’s electrical wiring to carry a network signal, with a receiving unit near the dead zone that creates a fresh Wi-Fi point or gives you a wired ethernet socket. They’ve fallen out of fashion because mesh marketing is louder, but in older homes with genuinely difficult wall construction, running the signal through copper wiring instead of trying to push it through a double-brick wall can work better than any amount of wireless tinkering. The catch is they need to be on the same electrical circuit or switchboard to perform well, and results vary a lot between houses depending on the wiring itself, which nobody can tell you in advance. We’ve seen them transform a garage or granny flat setup for well under $150, and we’ve seen them do almost nothing in a house with an older or mixed electrical circuit. It’s a $100-ish punt, not a guaranteed fix, but a cheap one worth trying before a full system replacement, especially for anyone renting who can’t run ethernet cable through the walls anyway.
Matching the fix to the household
A share house or rental with no ability to run cable or touch the switchboard is naturally constrained to powerline adapters and extenders. For a family with school-aged kids doing assignments and a parent running video calls from a back room, a proper mesh system earns its keep because it covers an entire floor plan evenly and hands devices off between nodes without the awkward manual reconnect an extender demands. It’s worth cross-checking your overall setup against our guide on home network security basics while you’re already in the settings menu.
Tradies running a home office alongside a ute full of gear tend to care most about a reliable connection in the shed or garage, where an extender or powerline kit is usually the practical answer rather than trying to blanket the whole property with mesh nodes. Retirees or grandparents who mostly use a tablet for video calls and streaming often just need the router moved to a more central spot, something worth checking before buying anything, including before setting up something like the digital photo frames for grandparents we’ve recommended elsewhere, since those rely on a steady connection too.
What to actually check before you spend anything
Run a speed test in each room using the same device, at roughly the same time of day, and write the numbers down. It sounds tedious but it turns a vague complaint (“the Wi-Fi is bad out there”) into a useful map of where the problem actually sits, and it stops you throwing money at the wrong fix. If every room is slow, including the one right next to the router, the problem is probably your NBN plan speed tier rather than your Wi-Fi hardware at all, and no amount of extenders will fix a plan that’s undersized for a household streaming on four screens at once. It’s worth checking your plan against current NBN Co network technology information to understand what your connection type can realistically support before assuming the hardware is to blame.
If it’s genuinely one or two specific rooms that drop out while everywhere else is fine, that’s a placement or extender problem, not a whole-house problem, and treating it like one by buying a three-pack mesh kit is solving for a scenario you don’t actually have.
Security doesn’t take a back seat just because you’re troubleshooting
While you’re in the router’s settings fixing channels and bands, it’s a decent moment to check who else might be using your network and whether the admin password is still the default sticker on the box. The Australian Cyber Security Centre’s guidance on securing home routers is a straightforward read and covers the basics most people skip, like changing default login credentials and keeping guest networks separate from the main one. We mention it here because dead-zone troubleshooting usually means logging into the admin panel anyway, so there’s no excuse not to tidy it up while you’re there.
Our verdict on fixing coverage without the big spend
If we had to rank the fixes by value for money, it’d go: move the router first, free; adjust bands and channels, free; try a single extender or powerline kit for one or two problem rooms, under $150; and only then look at a proper mesh system if you’ve got a genuinely large or oddly shaped home with persistent coverage gaps everywhere. Buying mesh is not a bad decision, plenty of households need it and get real value from it. But it shouldn’t be the first thing tried, and in our experience it’s frequently sold as the default answer when a $15 change in the admin panel would have done the job. Have a crack at the cheap stuff first. If you’re still fighting the same dead patch after all that, then a mesh upgrade is money well spent rather than money spent in hope.
— Priya Raman, Reviews Editor, Tech Geek
Featured image: Photo:Alyx Baldwin, CC BY-SA 4.0.